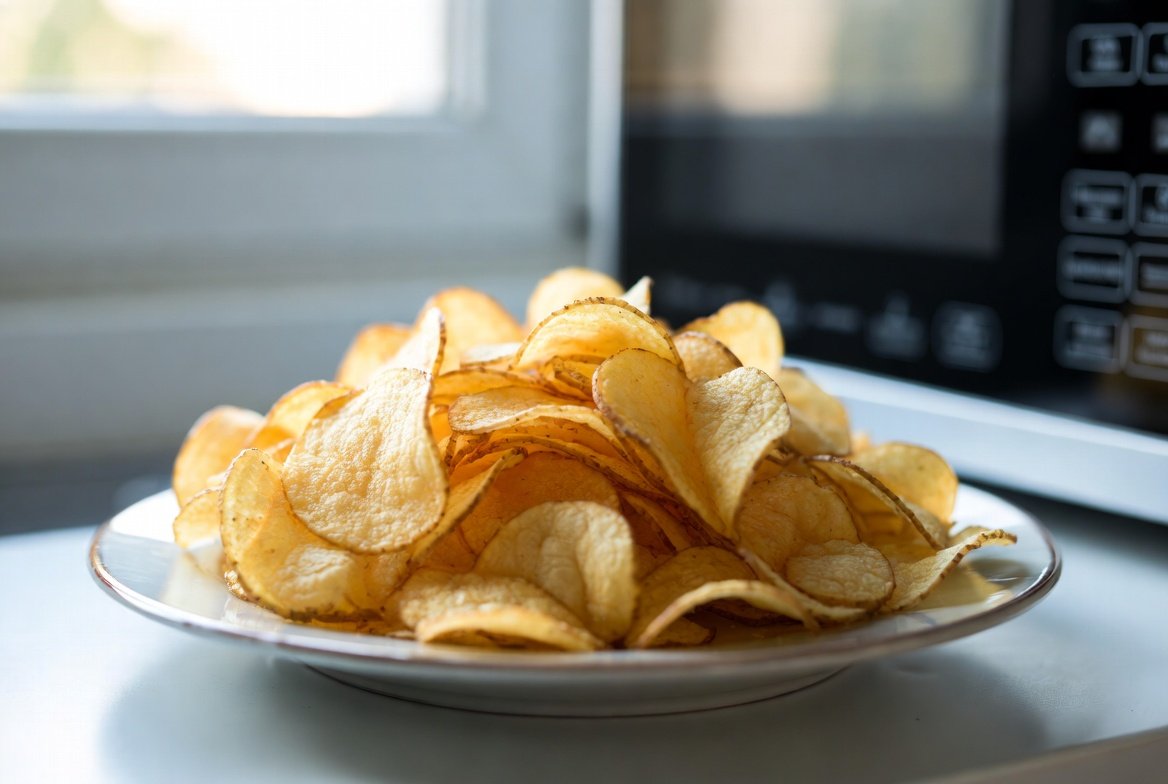
The recipe of crispy potato chips does not require deep-frying and does not require any specific machine to prepare. Fine slices of what could have been potato can be turned into crispy and tasty chips with a very minimal amount of oil and with a great deal less effort with a microwave. It is a straightforward process that is quick and can be easily managed and best suited in little quantities and fresh snacking. slicing it equal, out of and cooking it in a short series of stints will give it a crispness to it without burning. The seasoning can be prepared to your taste either a salty conventional or rather herbs or spices. These homemade chips would be a light and simple substitute to the packed chips using little more than a potato, a microwave and a little bit of patience.
Choose the Right Potatoes

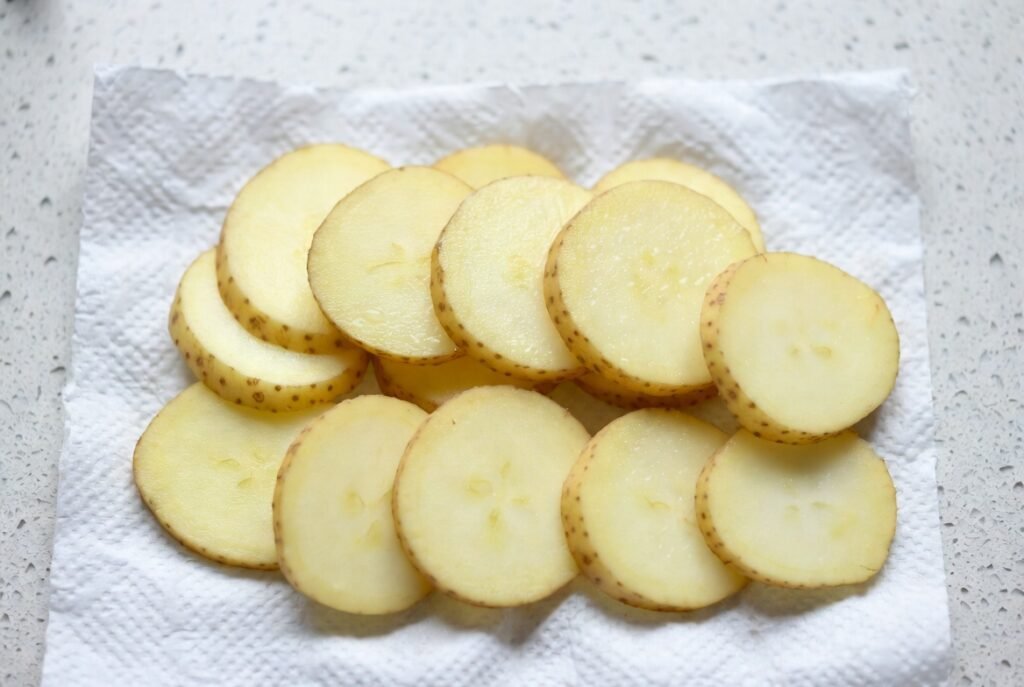
Russets are Russets that are hard and moist potatoes comprising the crisis chips. Their moisture content is less and hence crisp and not soft. Go green or sprouts of potatoes should be avoided. Peel and cook or in case you wish to wash the fruit it can also bring texture and flavor too as the skin does when cooked thinly and cooked well.
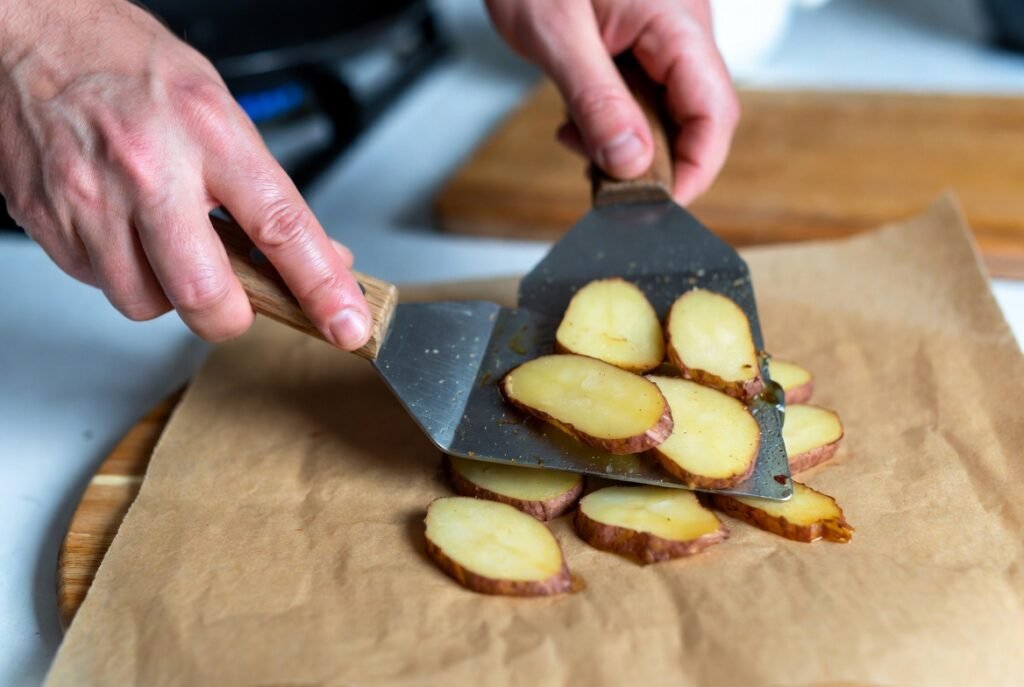
Slice Them Very Thin
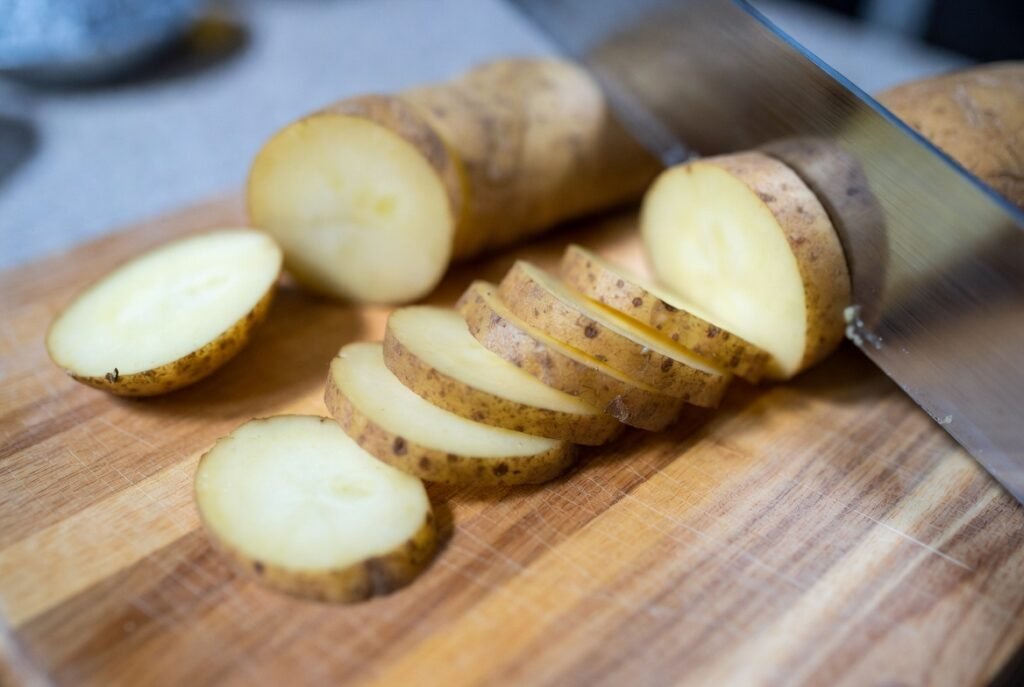
Potatoes should be sliced very thin and smooth to come up with crisp chips. Use a sharp knife or slicer in order to have similar thickness hence cook faster. Slices of thick pieces can be left tender in the inside where the piece is and the slim ones can be left to shrivel in the microwave.
Rinse to Remove Starch
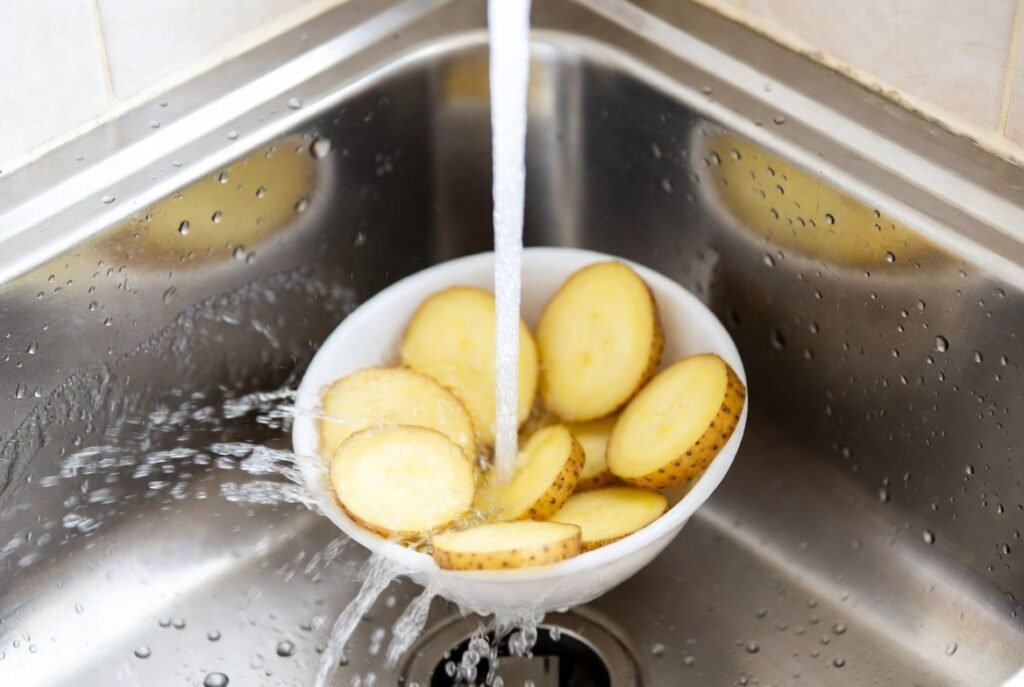
After being cut, put the parts of potato under cold water. This removes the undesired or actionable layer of starch on the surface that results in sticking of the chips or gumming up. Blow them a few times and then empty them strictly vigorously before going to the next stage of obtaining a more improved texture.
Dry Thoroughly
Pat should be wiped clean using a clean towel/paper towel. The moisture prevents crisping instead it can steam. The heat caused by this will be better on dry surfaces and the potatoes will be crisp and not soft during the cooking process.
Lightly Coat With Oil
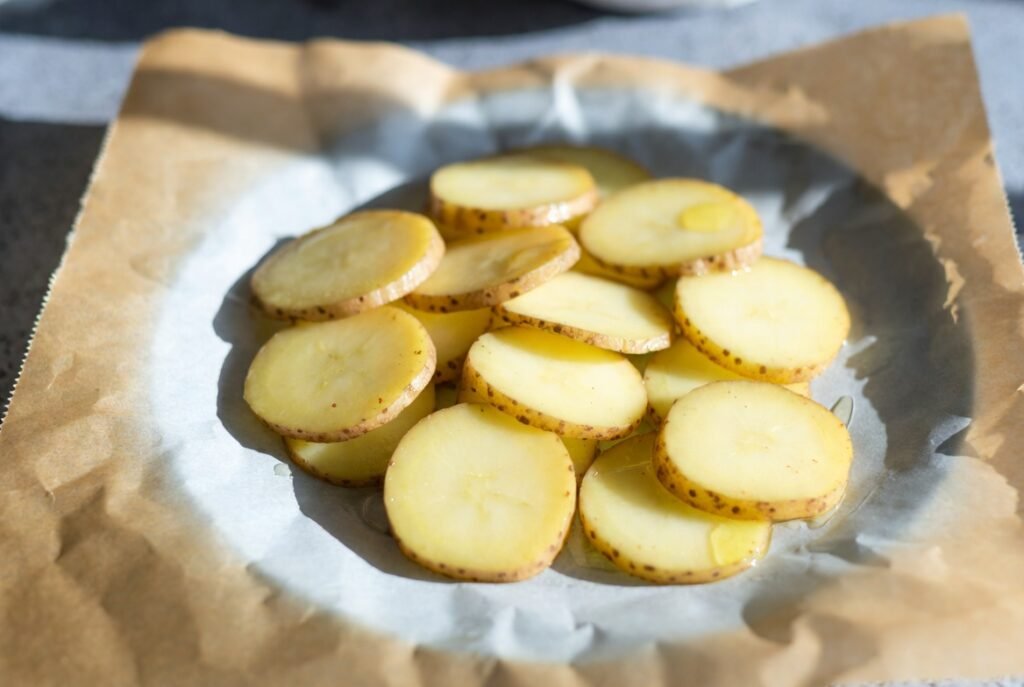
Low level of oil helps the chips to become brown and crisp. Cut slices and turn them around lightly in order to be covered and not moist. They will be sticky as a result of excess oil. The texture and taste are put on top which is not thick and heavy.
Arrange in a Single Layer
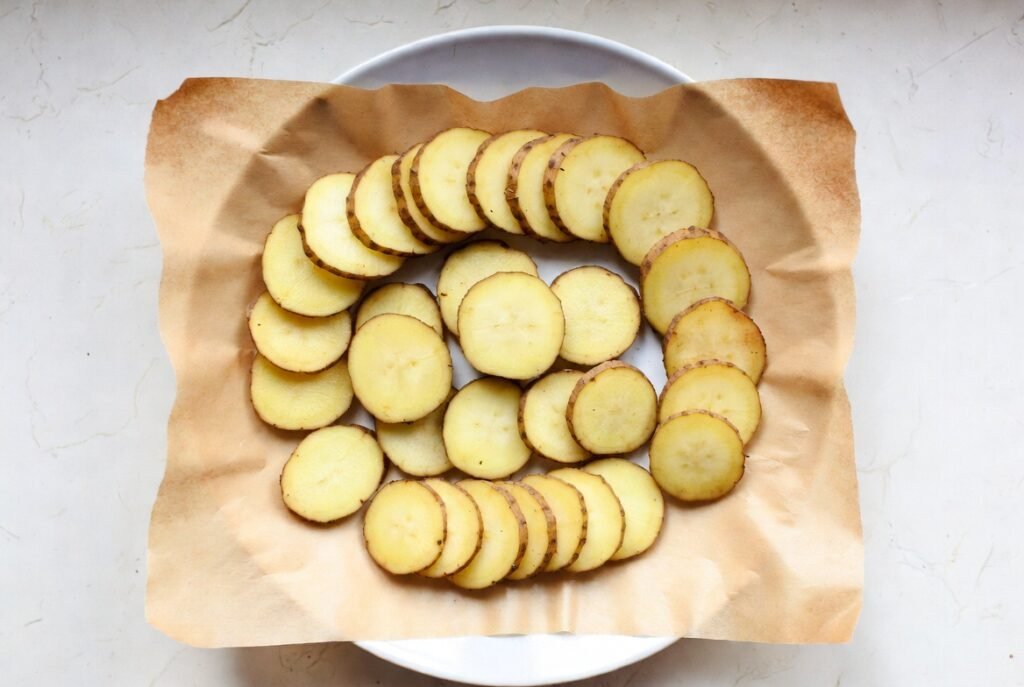
Place the slices on a sheet of parchment on a dish which can be heated in the microwave (where required). Make sure they don’t overlap. The space allows the steam to spurt into and warm up all slices thereby there being no irregular cooking.
Cook in Short Intervals
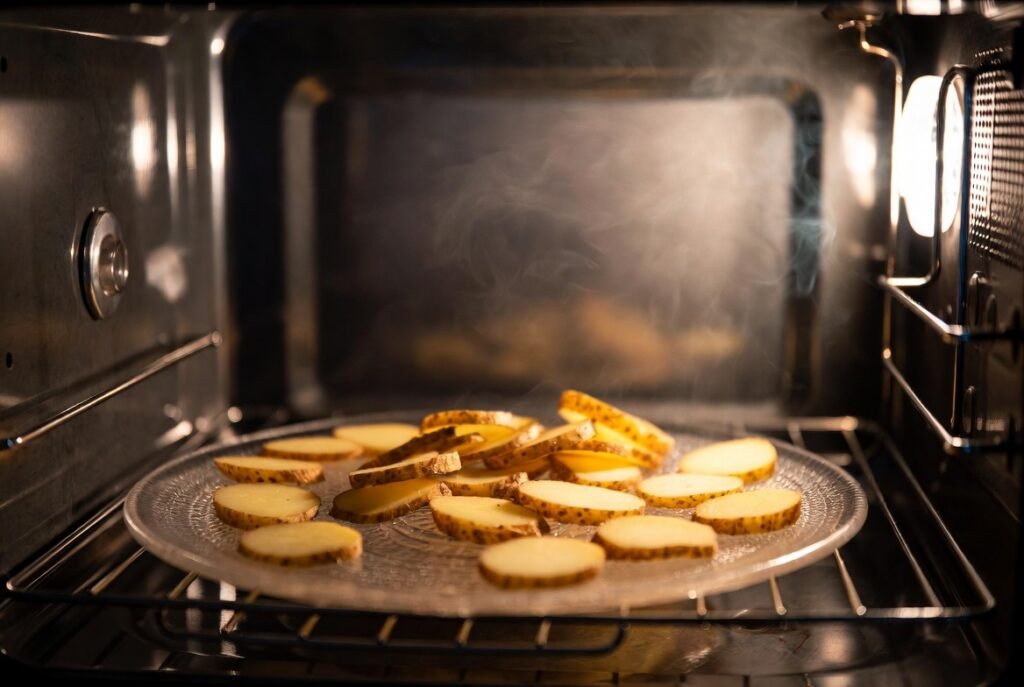
Continue with microwaving, at high, in short bursts, and check. The time taken to cook is dependent on the level and thickness of the microwave. Attentive notes will avoid burning and chips fry gradually by losing water especially by evaporation.
Flip If Needed
In case the slices fail to brown, even turn the slices halfway in the process of cooking. Even crispness, especially with microwaves with uneven heat distribution can be obtained with flipping to dry both sides and to crisp out, as well as even crispness.
Season After Cooking
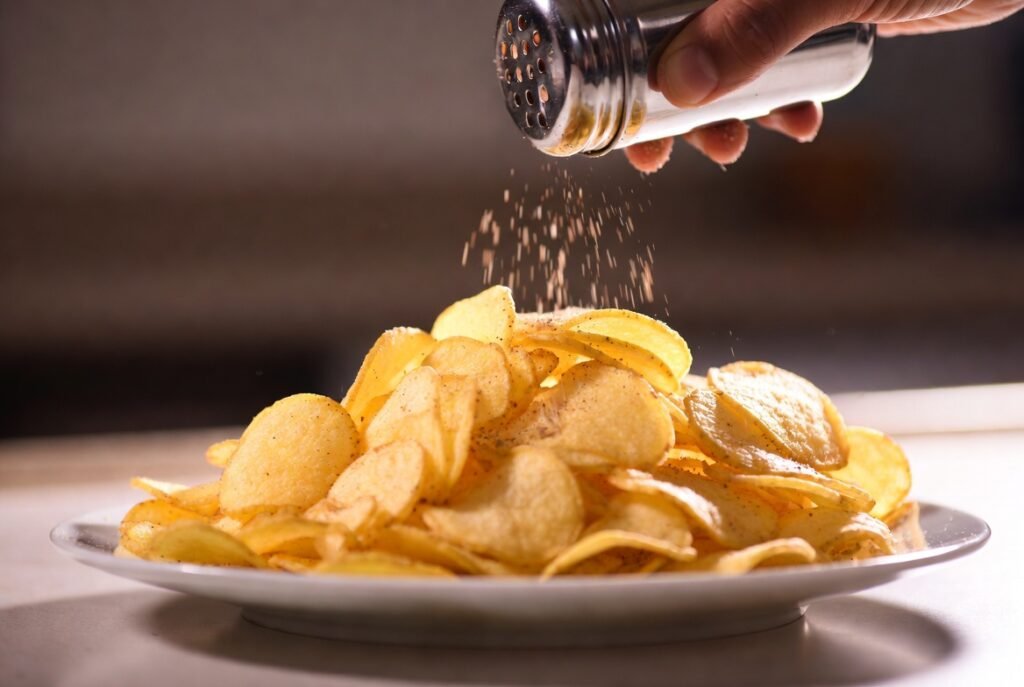
On the appearance of hot chips salt/spices must be added. Seasoning is relatively more sticky to a warm surface. This also prevents the burning of spices during the cooking process and maintains the flavors and balances them.
Let Them Cool to Crisp
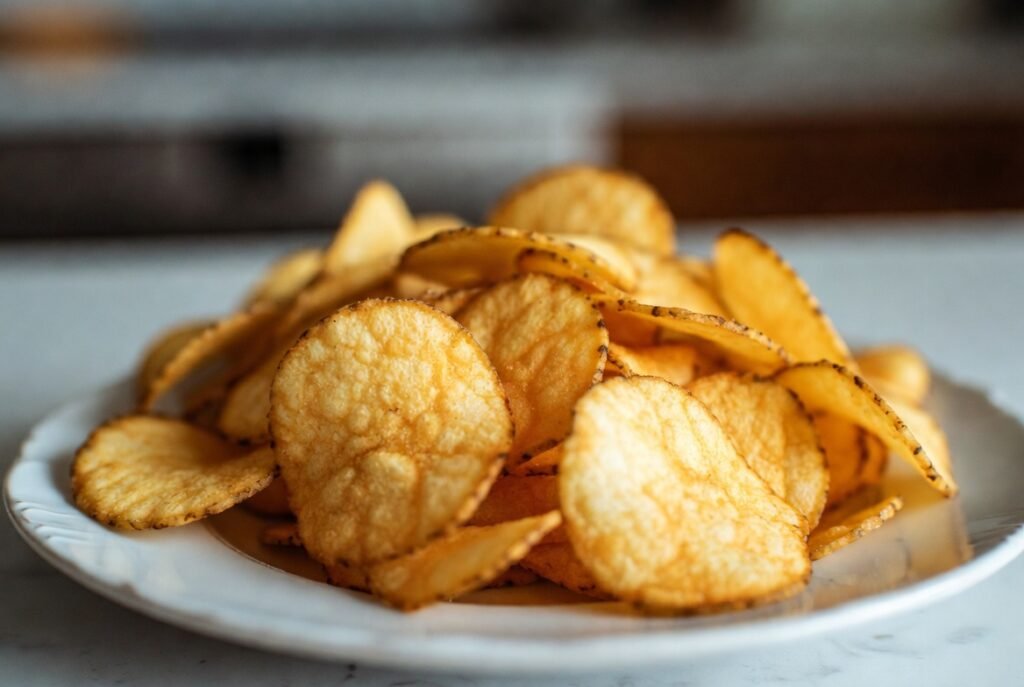
The firmer the chips are the colder they are. Give them a rest of one or two hours upon the plate, and, afterwards, eat. This freezing process allows the moisture that is present to evaporate therefore resulting in a crunchy texture.
Related Posts