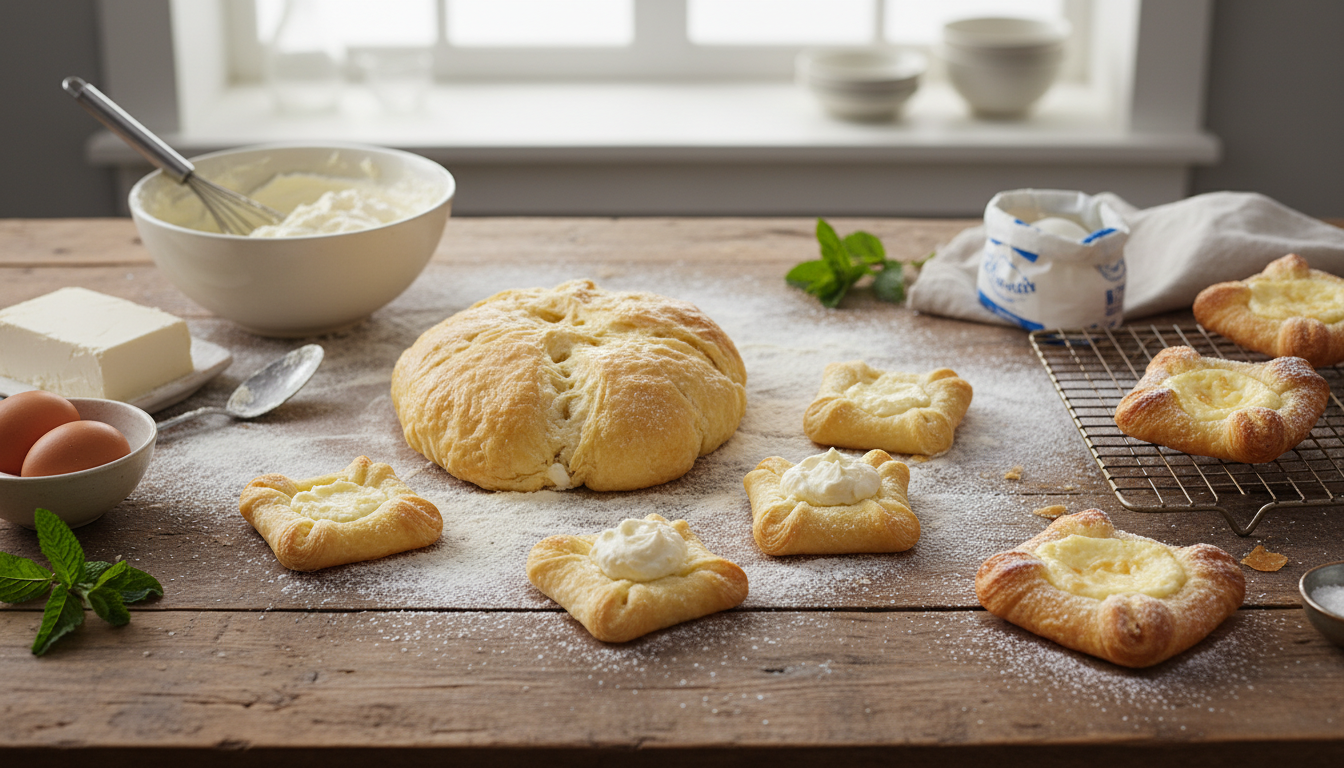
Preparing a typical cheese Danish is an art that can be made at home and it is not as difficult as it is made to appear. It is not a process that recognizes high skill, but one that encourages the virtue of patience and the subsequent steps culminate in the same result as that of the bakery. It is with the knowledge of how the dough, butter, and filling interact that you are given complete control of texture and flavor. She suggests that you take your time making each component to demand a decadent and cozy feel and really home cooked, and you do not need to resort to shortcuts or packaged dough.
Ingredients Overview
A traditional cheese Danish is based on the well-balanced ingredients. The base of the pastry is made of all-purpose flour, sugar, salt, yeast, milk, eggs and unsalted butter. The glaze is a mixture of cream cheese, sugar, egg yolk, vanilla and zest of lemons. With fresh ingredients the taste is always clean, the rising is perfect and the bakery-like finish is what makes a classic Danish.
Mixing the Dough
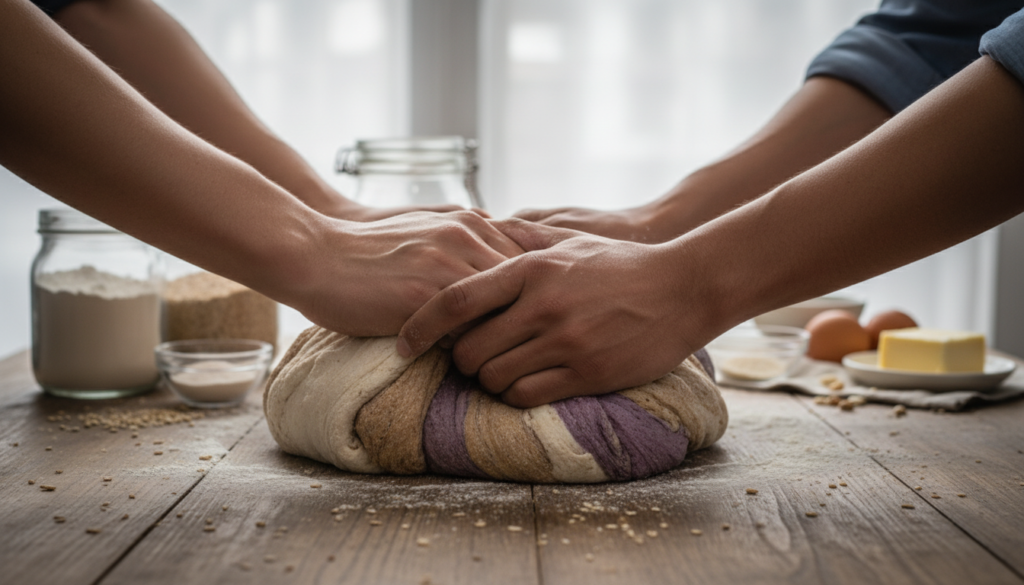
The preparation of the dough starts with a blend of dry products, and warm milk and eggs are added. The mixture is mixed until a smooth and sticky dough is created. Kneading forms structure and not toughness, which develops elasticity that is required during lamination.
Chilling the Dough
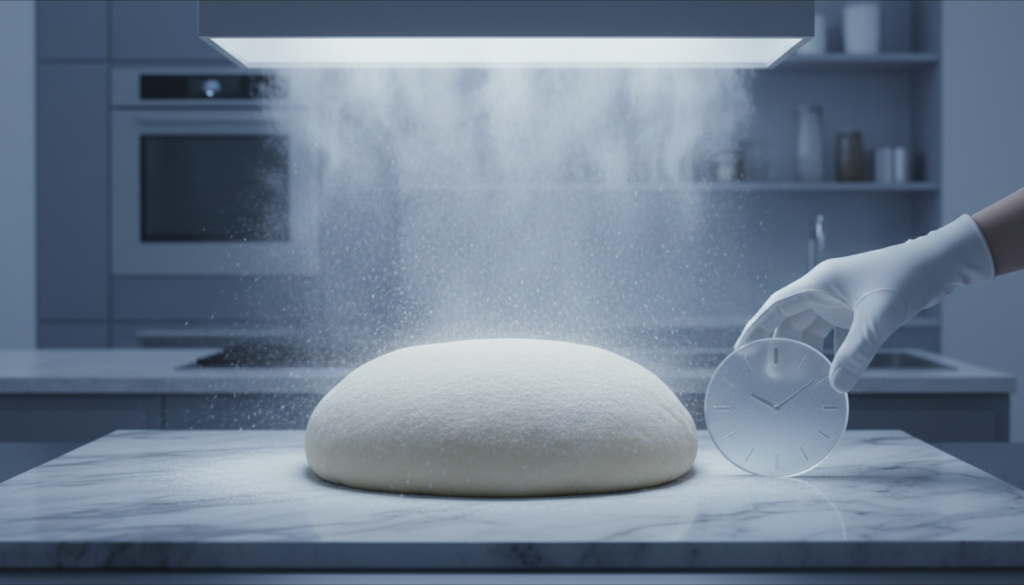
The success of the dough depends on chilling the dough. This rest period loosens the gluten and hardens the already existing butter, thus making it easier and more manageable to roll. Cold dough cannot be torn or is not shrinking during lamination. Failure to take this step usually results in lumpy pastry and greasy pastry.
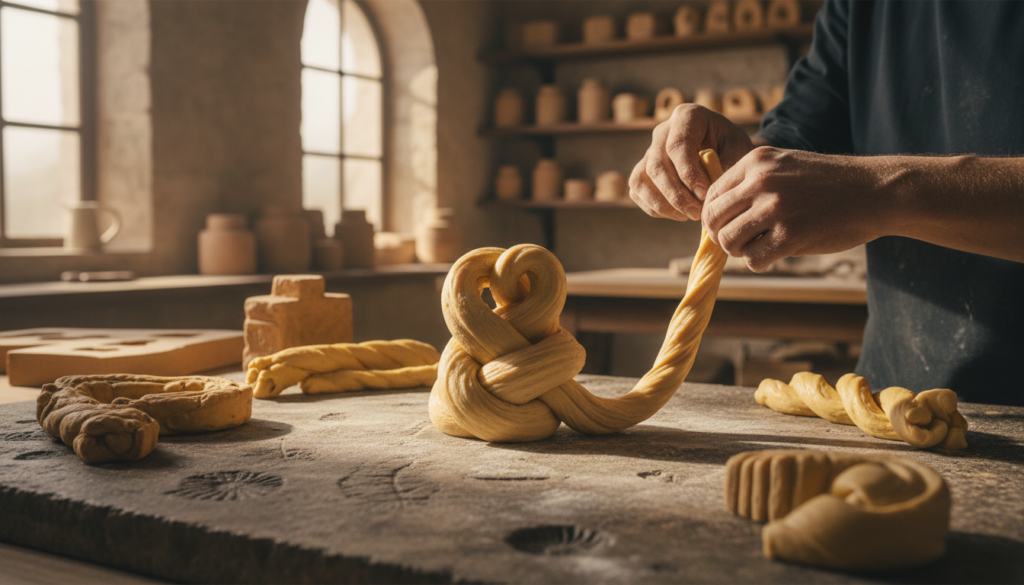
Butter Lamination
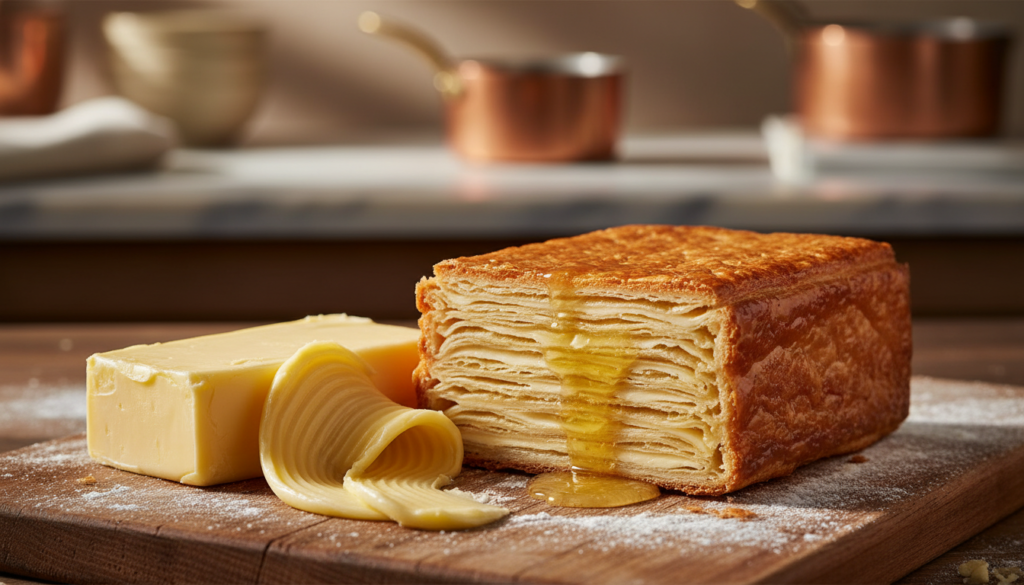
The flaky texture that constitutes a Danish is made through lamination. The dough wraps cold butter, which is then rolled and folded over and over again. Layers are multiplied by each fold and this enables the pastry to be raised by the steam as it bakes. It is important to maintain everything cold when it is melted because butter kills structure.
The Cheese Filling
There are several types of filling used in cheese products. The stuffing must be creamy, smooth and slightly sweet. Cream cheese is first beaten to eliminate all the lumps and then sugar, egg yolk, vanilla, and lemon zest are added. Light stirring will prevent excess air and leave the filling rich and not puffy.
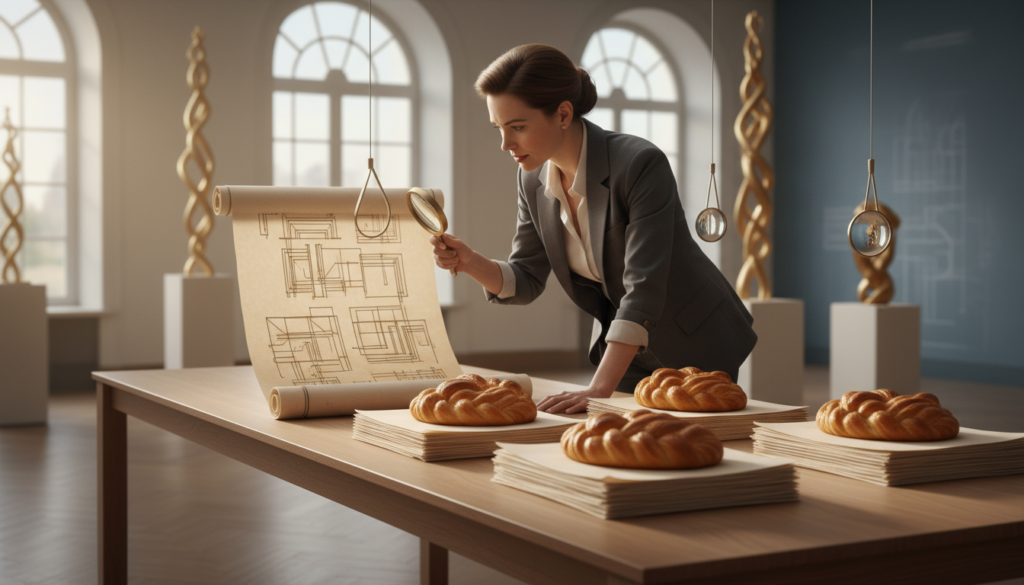
Shaping the Pastries
The dough is laminated and rolled out evenly followed by the process of cutting it into shape. Cheese Danishes are sufficient with squares or circles. The filling is then put at the centre and there is room left around the edges.
Proofing the Danishes
Sometimes, the shaped pastries are left to rise before baking with the help of proofing. This last rest also activates yeast and enhances the texture making the Danish light inside. Butter leaks and structure losses should also be avoided and this is achieved by avoiding overproofing.
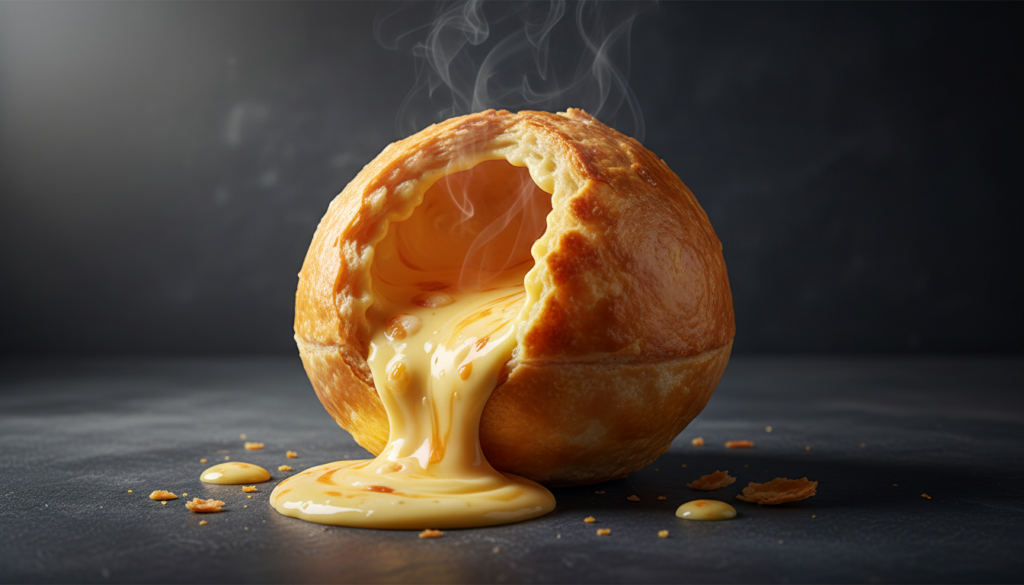
Baking to Perfection
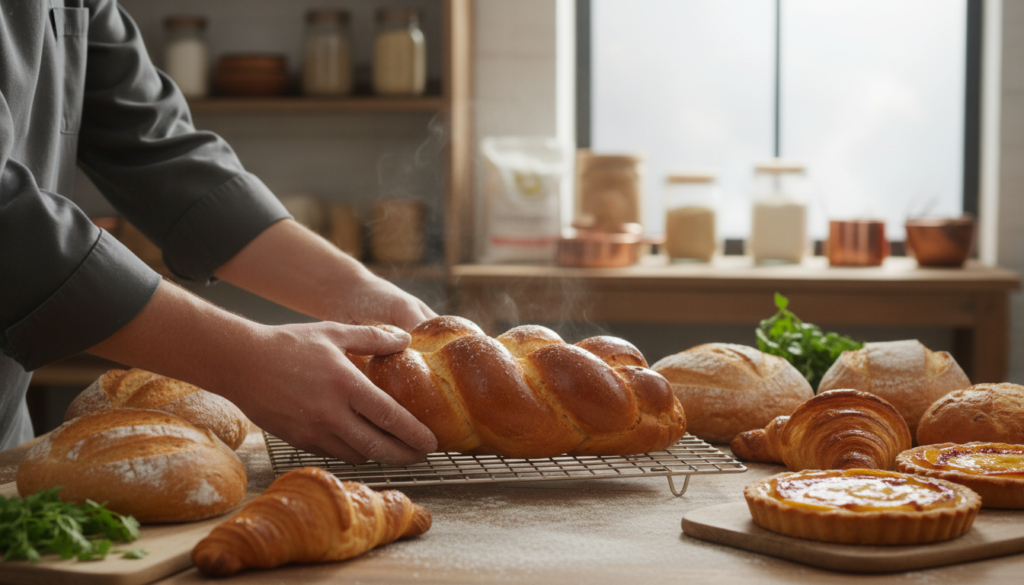
Browning and a full preheated oven is a necessity. The butter layers emit steam as the pastries bake making them flaky as the filling softens. Even baking will guarantee golden outsides, clean edges and a soft interior with just the right amount of sweetness.
Glazing Options

The plain glaze adds to the looks and taste. Powdered sugar combined with milk or lemon juice will make a smooth drizzle that will be light on warm pastries. The glaze is very mildly sweet yet it does not dominate the filling. Used sparingly, it provides the Danish with the bakery style appearance and leaves the pastry light and elegant.
Storage and Serving
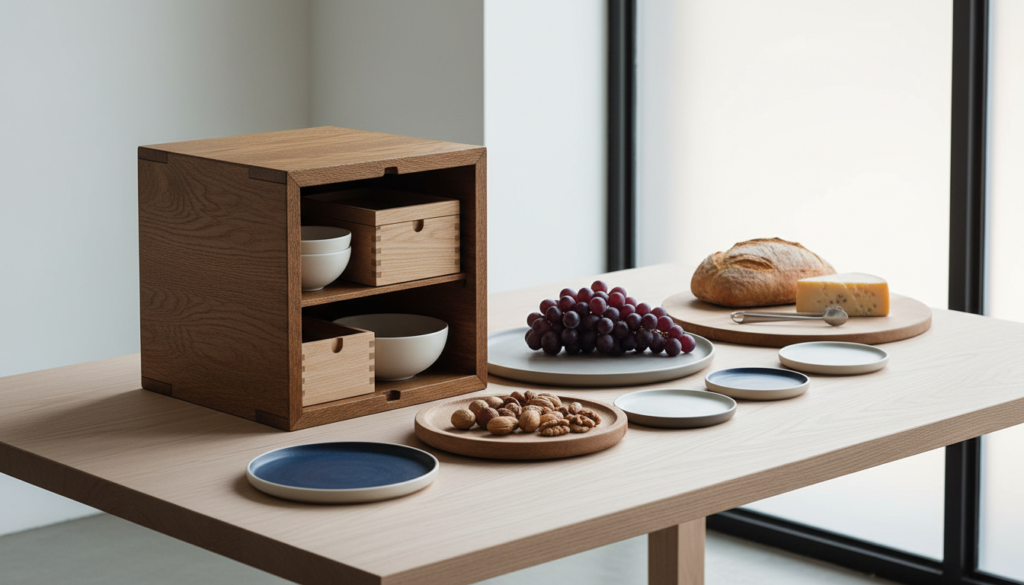
Cheese Danishes taste the freshest and the pastry is crunchy and the filling is warm. It is possible to store leftovers in a container with a tight lid, and reheat them slowly to recreate the texture. Storage helps in avoiding drying and loss of taste.
Related Posts